There is definitely two hearts beating in my chest. One is making photographs, while the other gets more and more fascinated by old mechanical cameras. It’s a dangerous combination, especially when you plan to use all those cameras to make photos! I am currently stuck with three 35 mm and two medium format cameras loaded with b/w film, some of them half way through, others somewhere between frames 1 and 10, not to mention the recently repaired Billy Record and my cravings to finally start shooting my Rolleiflex. I kind of put the cart before the horse by not laying out projects and picking the most useful tool for them, but on the contrary getting carried away with my gear without having any plans what to shoot with it. Films were loaded in high spirits, but as soon as reality kicked in it somewhat ended in a typical amateur’s overwhelm. It’s frustrating.
So what to do? Seeking advice in photo books and Youtube videos? There you will find the following: Shoot every day! Let using your camera and making photographs become second nature! See…it’s getting worse! Since I am not the guy who runs around like a christmas tree with three different cameras around my neck it will take a while to finish all these loaded rolls. I usually don’t leave the house without a camera, be it my day-to-day Nikon F3 SLR or my newly purchased Olympus rangefinder – just in case. But situations worth shooting especially during my daily commuting to and from the museum are rare or so far have successfully managed to hide from my amateur’s eye.
Ever so often one feels completely stuck and instead of starting to work against it with small steps slowly leading out of the ditch one takes the easy path and immerses oneself into binge watching photography related videos on Youtube … only to end up even more frustrated than before. But…I have a recipe to leaving that vicious cycle, which at least for me works perfectly. And here it is: Have a go at your last say 20 rolls of film and try to find patterns in your recent imagery. Maybe you discover that you have a nag for graffiti or you find images of architecture or flowers forming a large part of your portfolio. Then try to sort these pictures into themes or look for connections between them. The trick is that by doing so you immediately realize that e.g. certain subjects are missing to complete a small series of images or the pattern you discover in your photography leads to a more complex idea for a project. I give you an example from my own work: Last year I had a few days at the North Sea accompanying my elder son who wanted to spend his first week of summer school holidays with his grandparents in their holiday home. I quite extensively photographed fishing boats in the little harbor of Dorumer Tief. One of the images shows two ropes neatly laid down to form an “8”.
 Eight
Eight
Dorumer Tief, North Sea, 2018, Nikon F3, AF Nikkor 35mm f/2, Hoya K2 Yellow, HP5+
When I saw it on the negative I immediately thought, hey, let’s do the numbers from 1 to 9. I started thinking of possible objects which may resemble the missing numbers. Some are easy, others aren’t. “1”s are flying in the hundreds over our garden in early spring and late autumn and are made of flight formations of cranes and wild geese, but “7”s or “4”s are much more difficult to imagine. I know: this has probably been done by many photographers before. It’s not innovative and won’t crawl up the bestseller lists, but it’s a challenge and therefore highly motivating to continue your photographic journey. The next level would probably be letters and although this has been photographed to death with patterns on butterfly wings you may challenge yourself with completely different subjects to reach the same goal.
Any take home message from this blog? Instead of numbing yourself with Youtube watching the photographic journeys of other (better?) photographers out there take a look at your own work and what you’ve achieved so far. Try to read your images and filter your preferences from them and I am sure you will come up with several ideas what to shoot next.
 The Billy Record
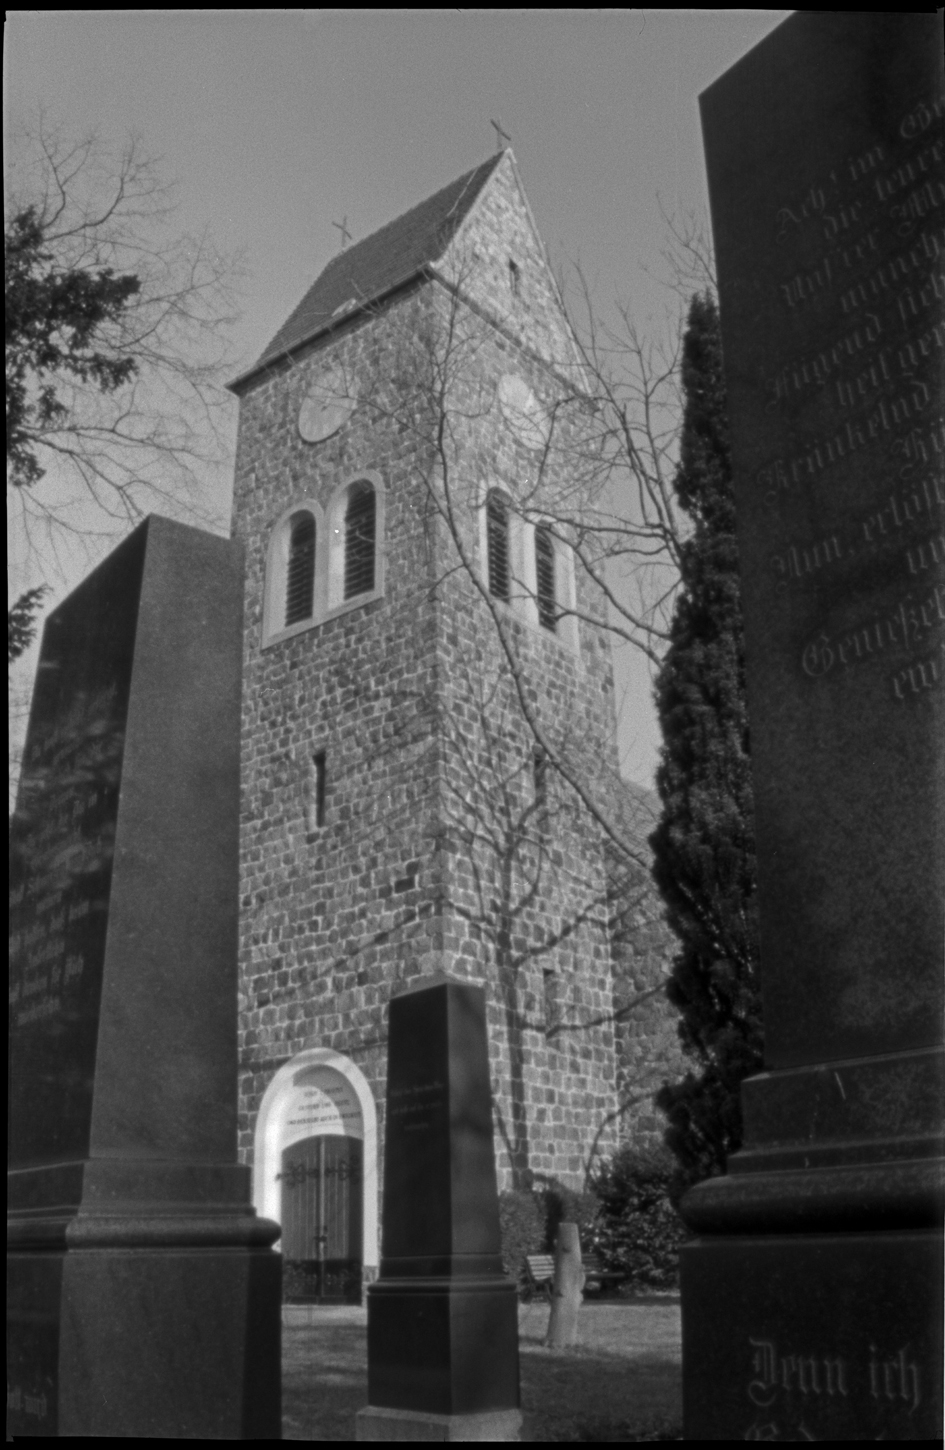
 Soft Luther
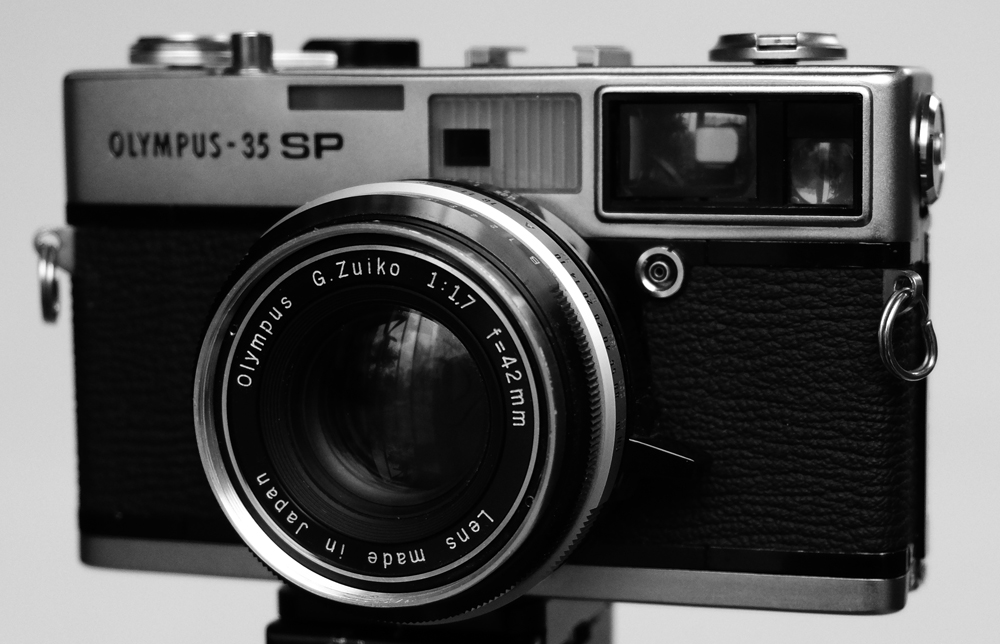 Olympus 35 SP rangefinder with 42mm f/1.7 lens
 Doors & Colors (frame 20/36)
 Autumn sky (frame 5/36)
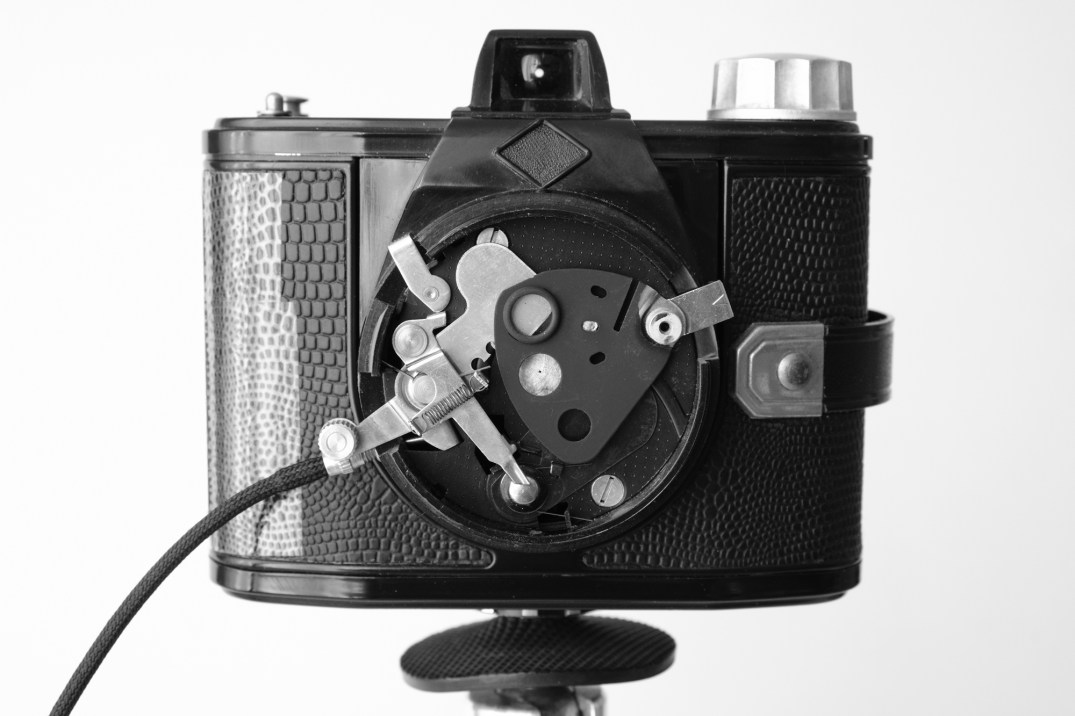 The Agfa Clack with the lens removed. Note the aluminum pinhole in the centre of the original aperture for cloudy conditions. With its view finder on top it’s kind of a poor folk’s version of a Hasselblad SWC (just kidding!).
 Agfa Isolette II with 85mm/f4.5 Apotar lens, Pronto shutter and clip-on yellow filter
 The leak in the bellows produced a fuzzy light spot in the upper right corner and affected the upper third and the right margin of the whole negative. The fluff is basically a pinhole image of the disrupted paper the bellows is made of.