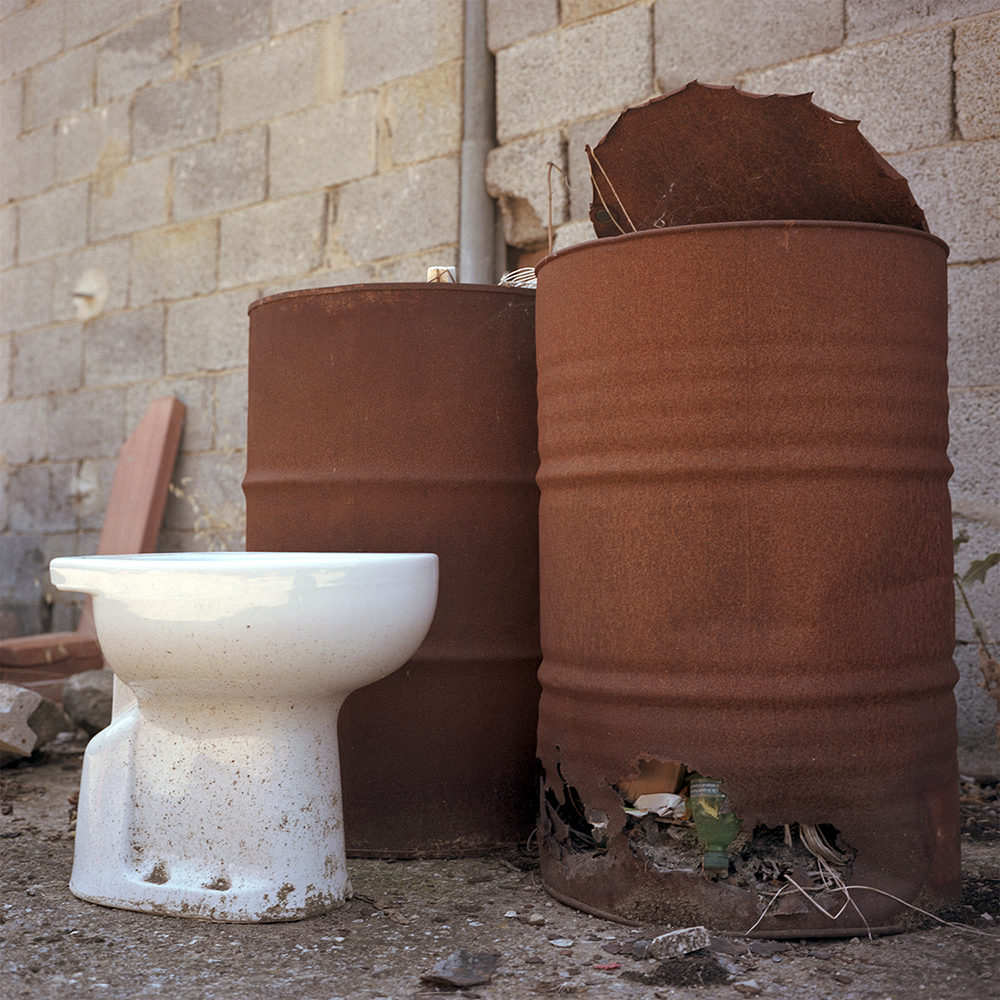
Being back into photography for more than four years now (after a long break of more than a decade) I am looking at what I’ve produced so far and – to be honest – it’s not where I want it to be. But the question is: Where is “where”? What exactly causes me struggling with my portfolio? Having a closer look at my results, it looks like a little bit of everything. There is no overarching theme, no consistent “language”, no favorite genre. Instead, it jumps from 35mm to 120mm, from color to b/w, from street to landscape to architecture and back to pinhole photography. It is the result of cheerfully playing with different formats, gear, and film stock. Perfectly OK for a hobbyist, who still tries to find his style. And even more rewarding for someone who loves to play around with old cameras. So, what’s the problem?
Rumors have it (thanks to HCB) that your first 10.000 pictures are only good for the waste bin. This translates into “practice, practice, practice” as THE guiding principle to earn the right to call yourself a photographer. Even when adding my early day photography to what I have produced during the last four years, in terms of numbers I am still not there, yet. But is it really just a lack of practice?
As a creative it’s quite common to be unsatisfied with your product. Being your strongest critic is almost inevitable and we all seem to quickly underrate our own work rather than celebrating our achievements. On the other hand, a critical view on our own body of work with all our background knowledge we’ve acquired through experience, book reading, talking to mentors and fellow creatives, visiting exhibitions etc massively helps to assess our portfolios and, thereby, constantly grow as a photographer. However, the core difficulty is to find your own style or to produce work, which is consistent – whatever this consistency is made of.
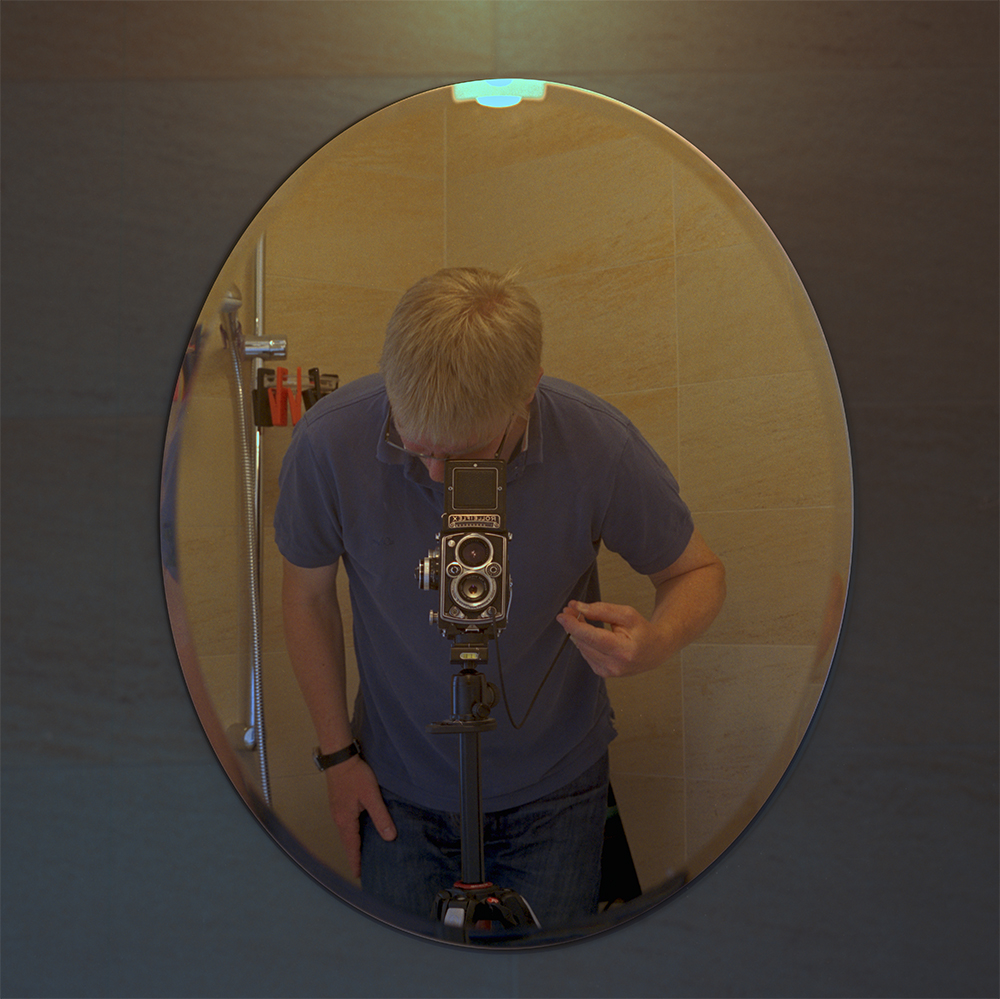
Playing around with many cameras and different film stocks is fun, but it seems to keep me away from profoundly learning one piece of kit and/or one type of film to e.g. produce a consistent look independent of the ambient light conditions. I always try to think in projects and then choose what I think is the most suitable camera and film for it. But ever so often the projects I come up with are tiny and if there are more than three or four of them at a time you bet that every single one seemingly needs different gear and emulsions. The result again is swapping cameras and film stocks instead of sticking to one combination and deeply learn how to make the most of it.
Despite the fact that I love the restrictions when using old cameras and certain types of film, I obviously have difficulties to simplify my options any further. Why not restricting myself to e.g. monochrome and square format and deeply explore all options this combination can give me? Why not pushing the limits of a single color emulsion to getting to grips with this very stock? I think it has to do with the fear of missing out. Who hasn’t cursed herself when a perfect color scene unfolded before your eyes and the only camera around your neck was loaded with a b/w film? However, this may only be problematic for the immature photographer. The pro knows when this scene is not her style of photography and, therefore, can fully enjoy the moment without feeling the need to press a shutter button.
As outlined above, it’s still a long way to go…


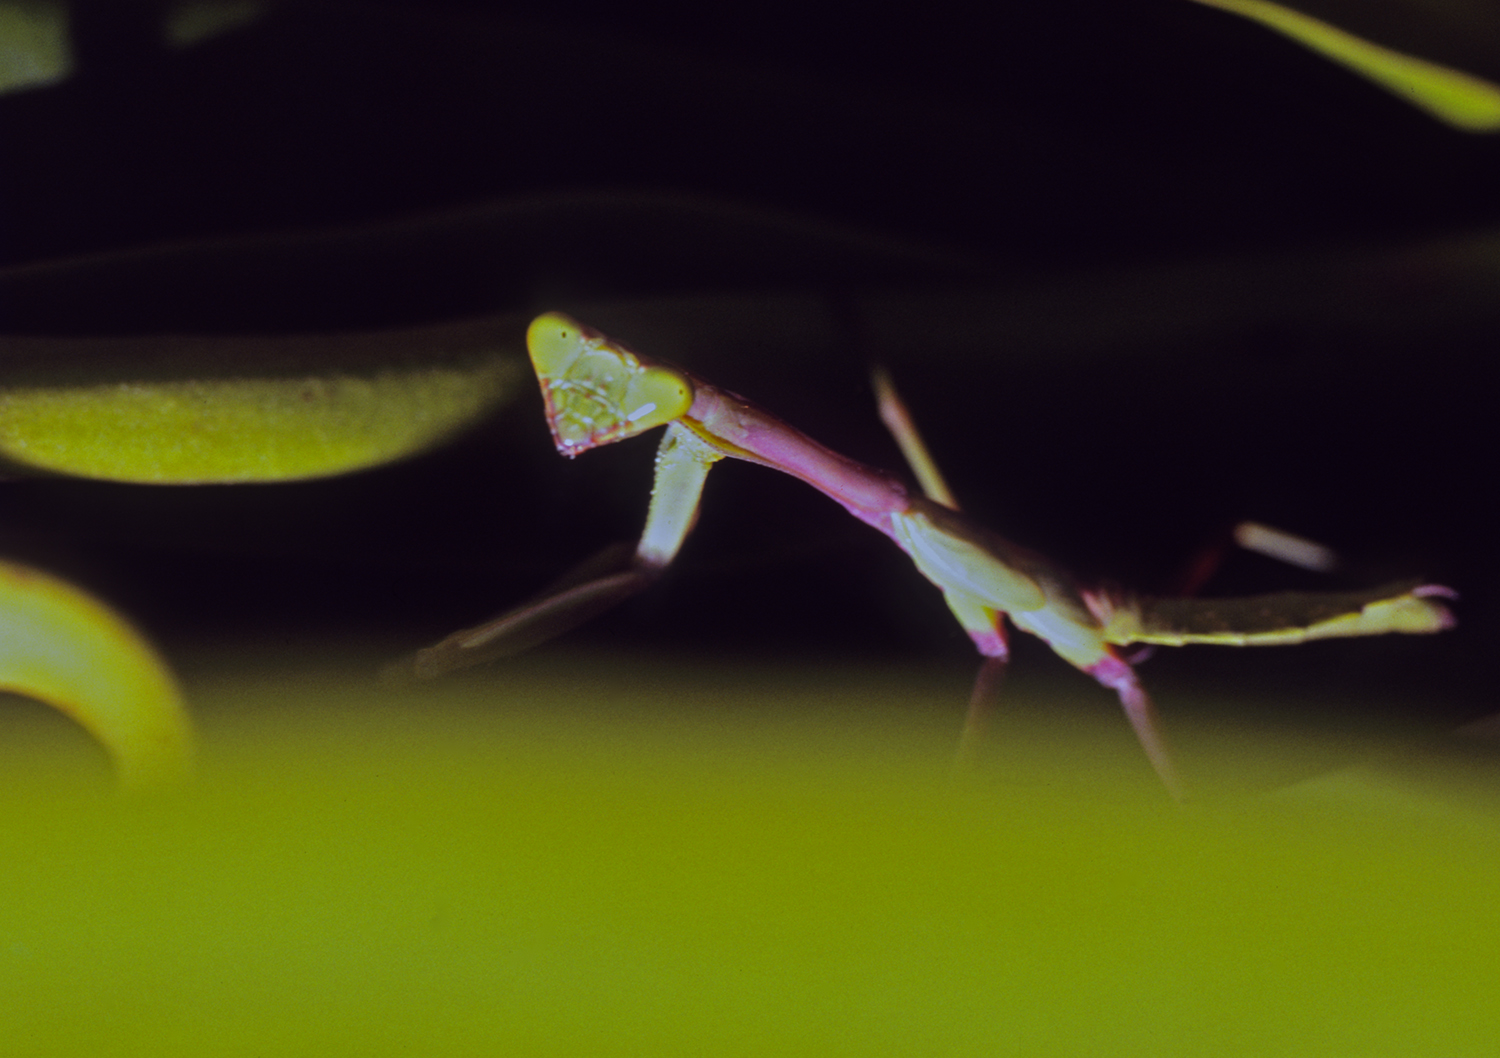 Praying mantis
 Dandelion
 Hawthorn
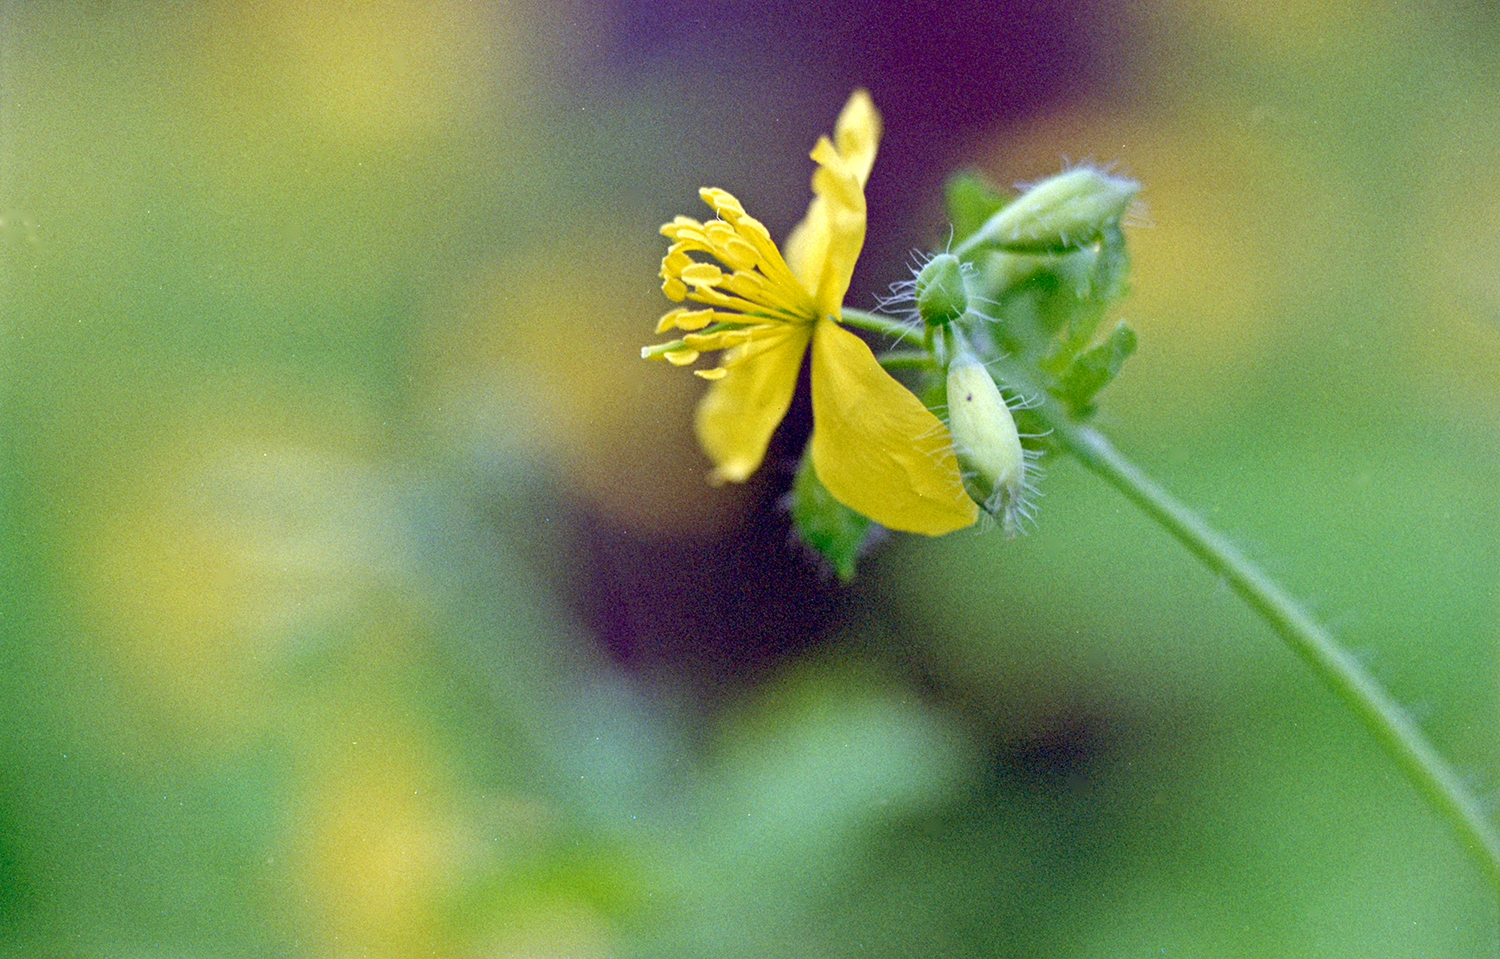 Celandine
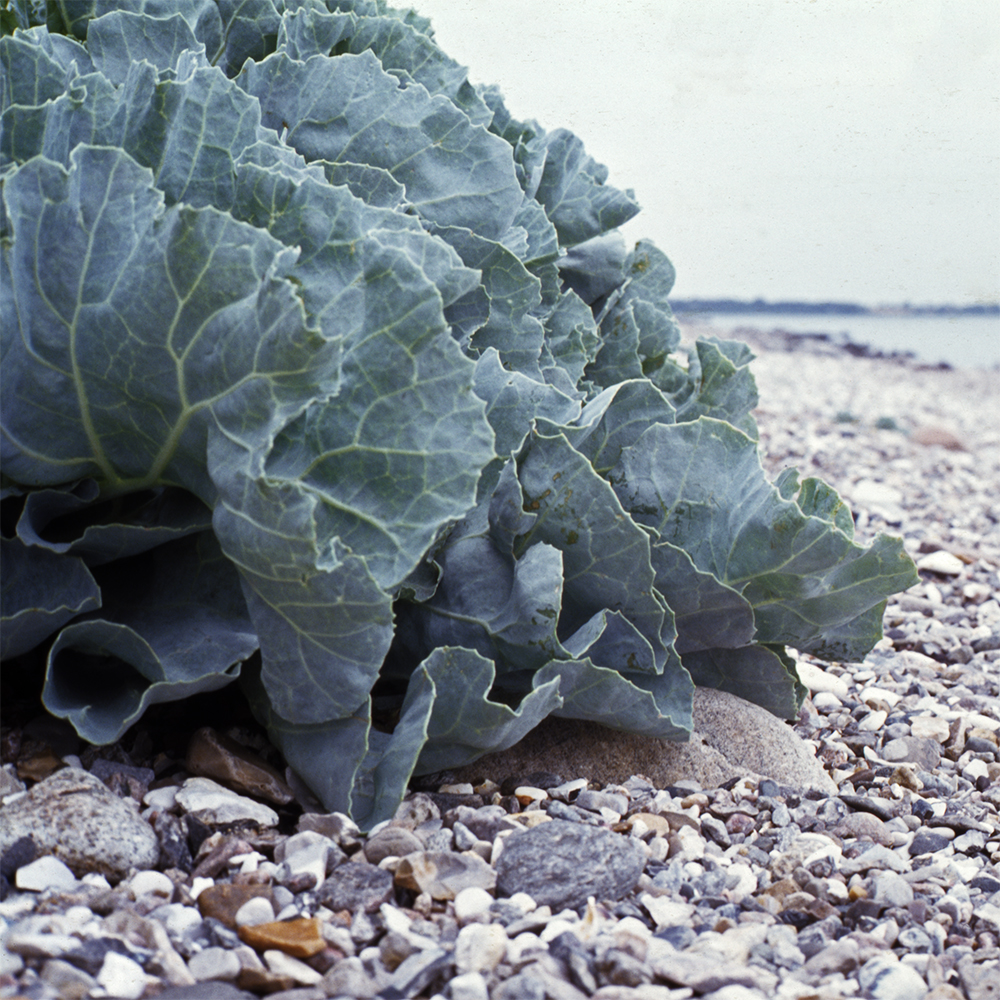 Sea kale II
 The red boat
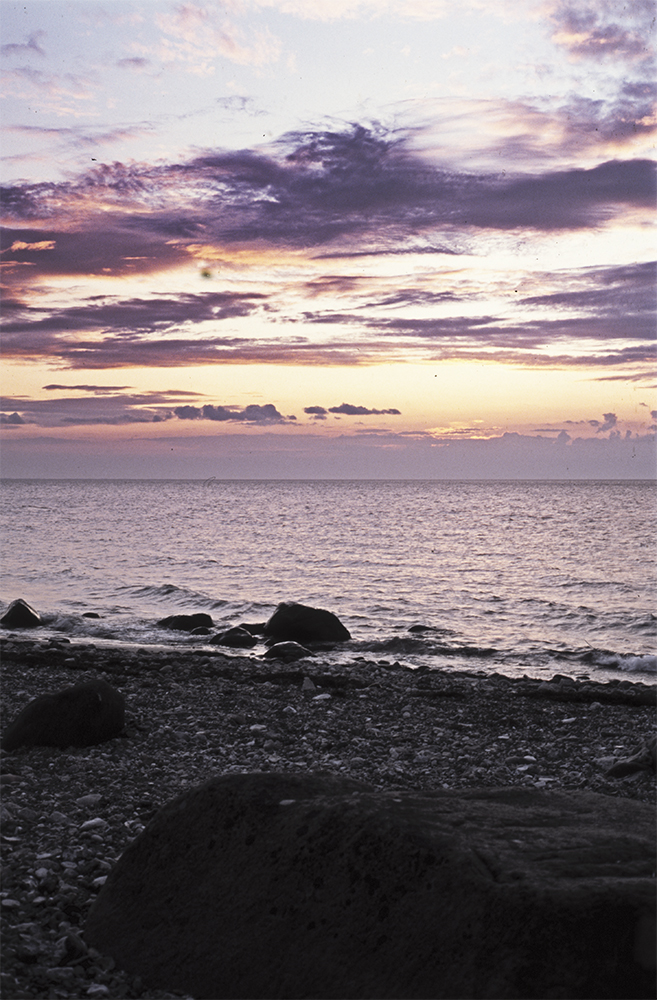 Veddinge sunset
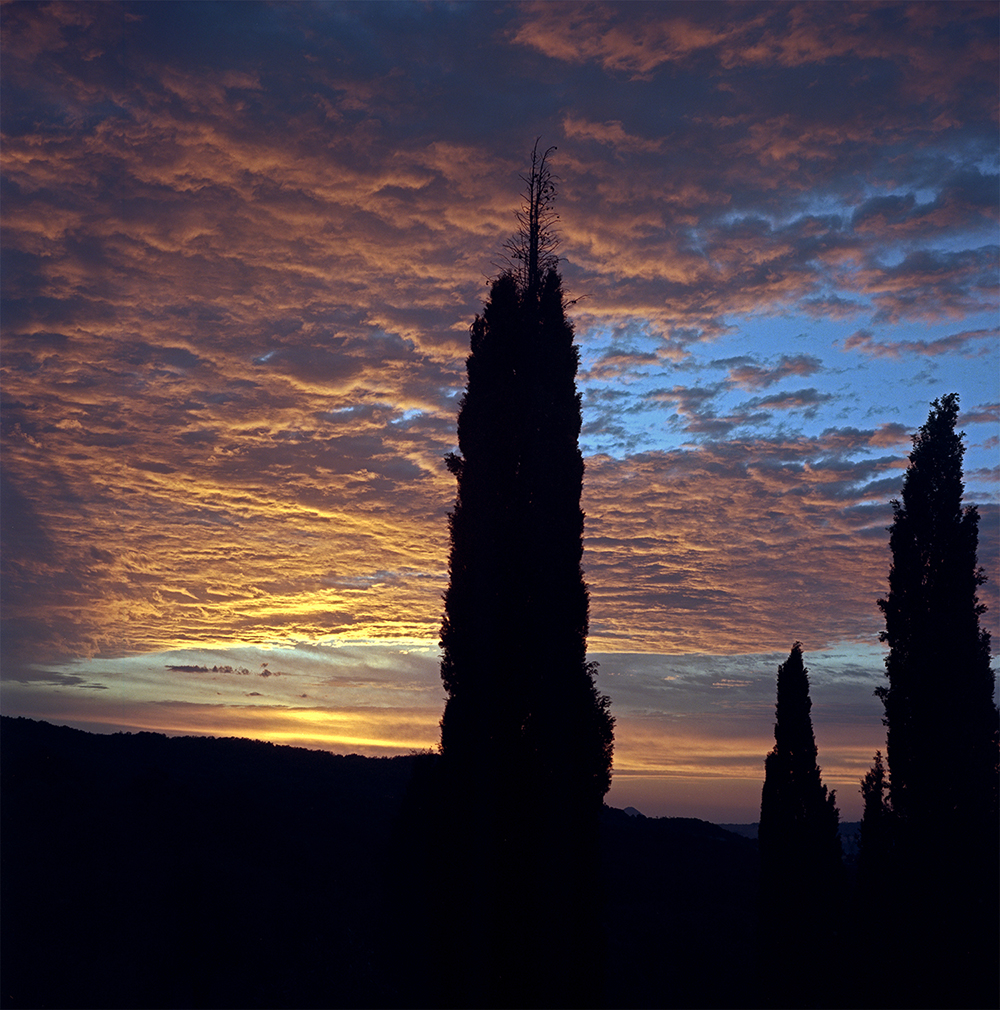