You may have stumbled over my website because of your fascination for analog photography and I totally relate to that, since my own fascination for it made me start this website in the first place. Analog photography is often praised for its slow workflow forcing you to take your time when composing and shooting images, developing film and – in an ideal setup – spend time in the darkroom to further advance your results with a chemistry-based printing process. I don’t want to be mistaken here: I really love all these processes and I have already booked darkroom time for autumn this year to make analog prints of new and as yet undeveloped b/w negatives. But, if you’ve followed my blog posts you will know that for various reasons time is the most important factor holding me back from grabbing my film gear…let alone writing new posts – the last one was published in December 2023! In other words: The praised slowness of film photography is the very reason why I rarely shoot images at all. And here is the question: Is it better to glorify the features of analog with all its decelerating features and not take pictures or to sidestep into digital at times in order to practice photography and get some decent results with a lot less effort? Hold on…this is not to say that I’m now brainlessly shooting with my digital gear and pick out the least crappy images during a hasty review process. Just the opposite. But saving time otherwise needed for developing, scanning and printing negatives makes a huge difference for me.
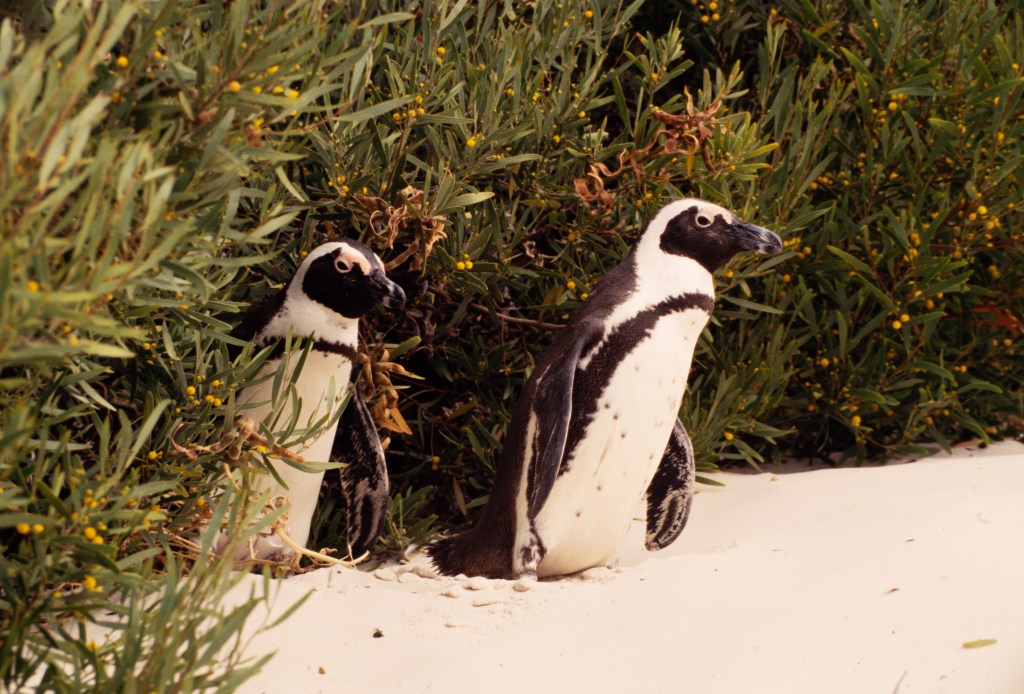
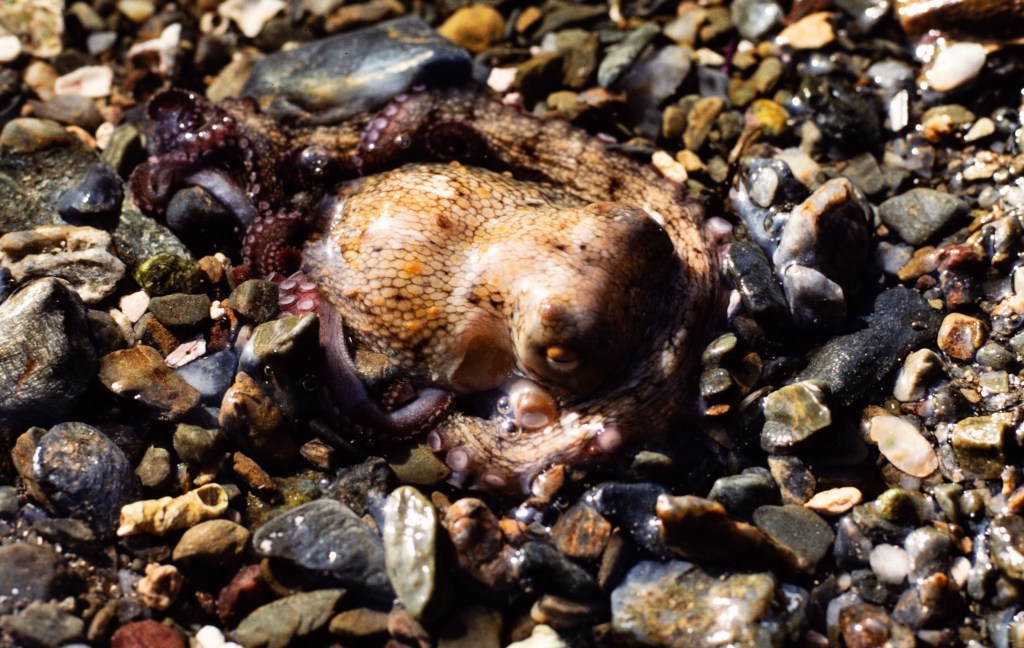
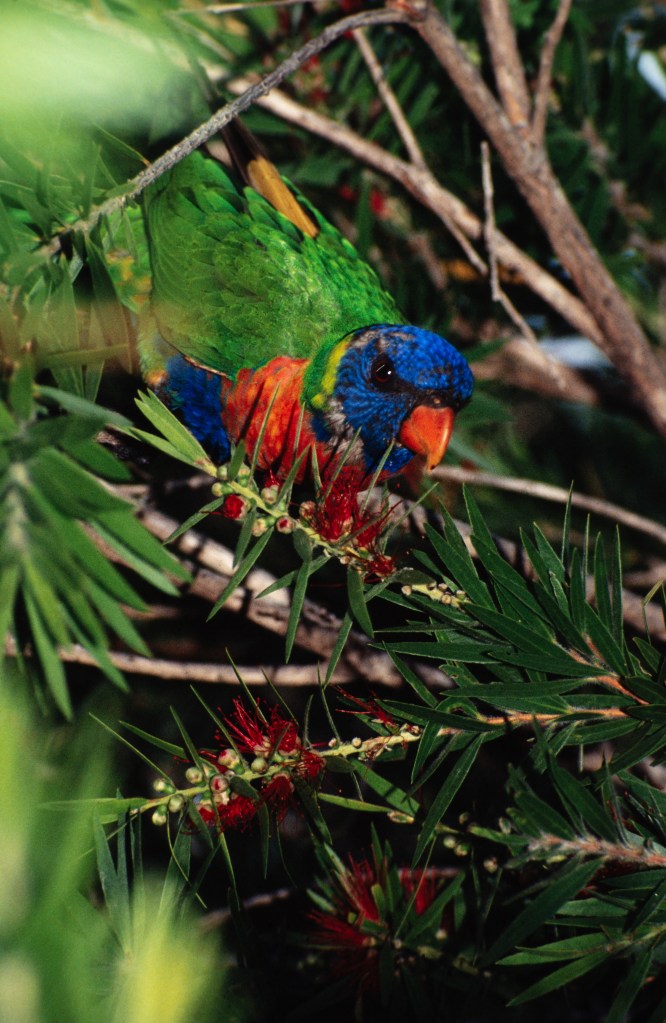
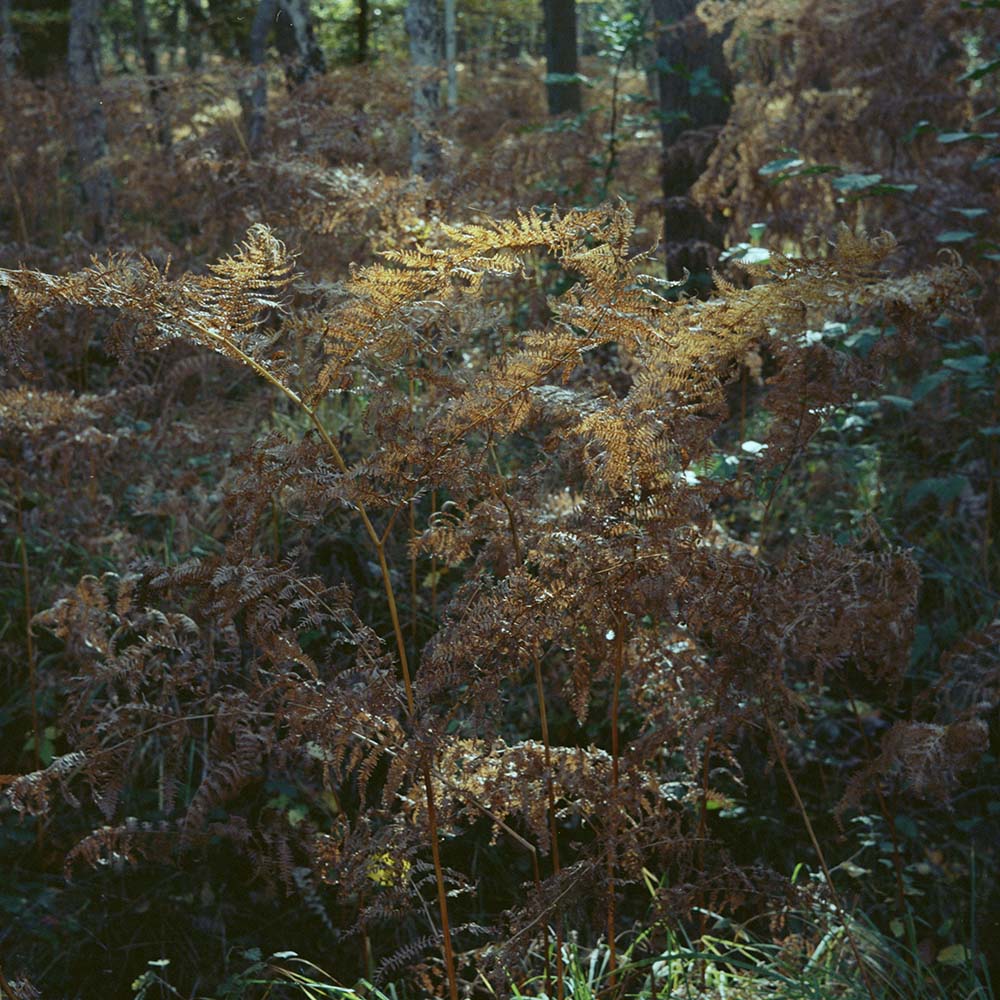
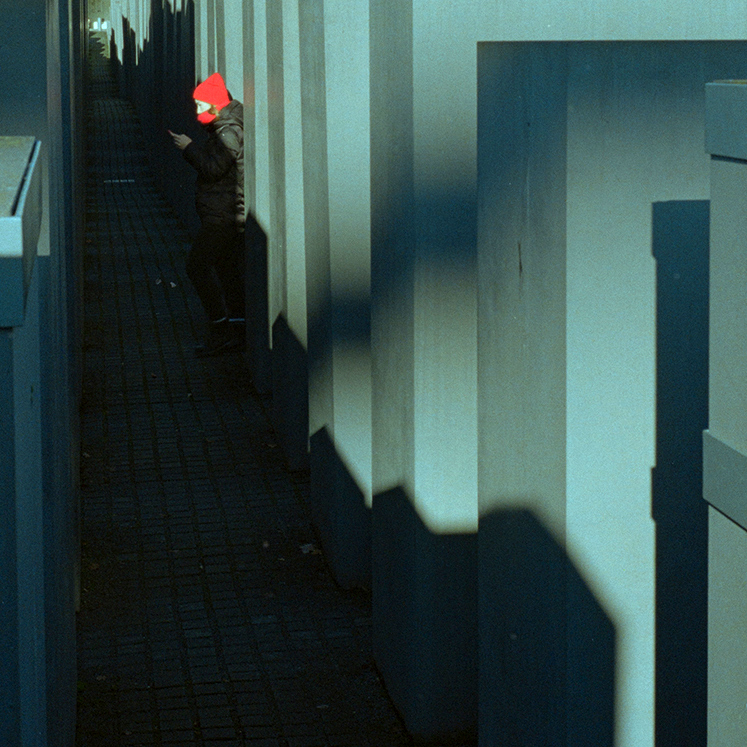
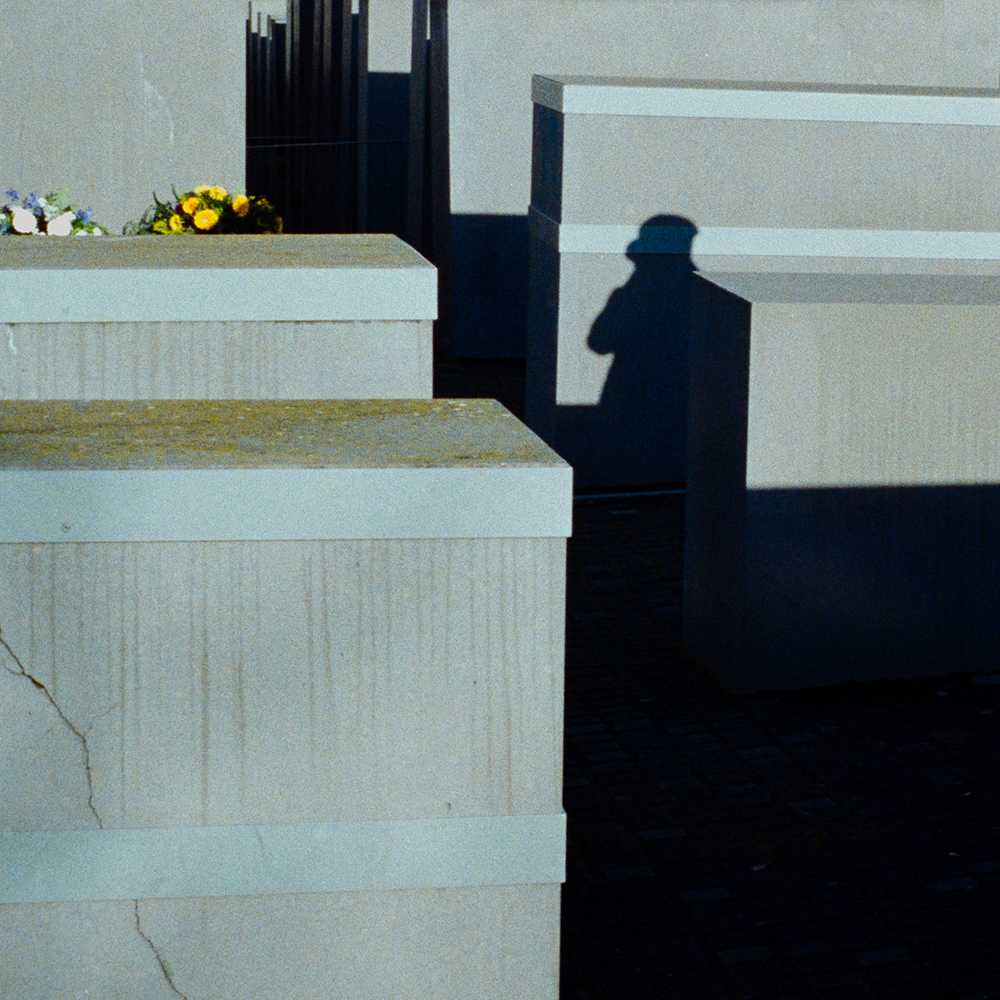
Since I shot many more digital than film over the course of the past two years I decided to open a new page on this website called Digital escapades. The photos were either shot with my Fuji XT20, my Nikon D610 (which I normally only use for digitizing negatives) or my phone. Images will be grouped following themes of long or short-term projects and the selection of photos will hopefully give an impression of what currently interests me – photographically and creatively.
For me, digital has opened a door to continue my photographic journey without spending too much time until I see results and I really embrace this opportunity to stay creative… spontaneously, even during short breaks in my professional and family life.
But see for yourself, I am excited to hear your opinion on this. If you now think “why is he watering down his analog photography website with digital images?” then I can’t help it. Currently, for me it is way more important to be flexible and stay in business than to be puristic risking that I have to stop shooting images completely.